Data & Setup
If you are attending one of our workshops, you can use Google Colab to run all the code. If you want to setup your own computer to run the analysis demonstrated on this course, you can follow the instructions below.
Data
The data used in these materials is provided as a zip file. Download and unzip the folder to your Desktop to follow along with the materials.
Alternatively you can use the link below to download the data from Google Drive:
Software
📦 Installation Instructions (for Google Colab)
How to use in Colab:
Open a new notebook in Google Colab
If you want to run the notebooks in Colab, you can also use the Open in Colab badge below:
![]()
Run the commands in code cells.
You can now create notebooks and run any of the scripts in Google Colab.
Repository link:
https://cambiotraining.github.io/ml-unsupervised/
- (Optional) In order to access the files on your computer, you can save them to your Google Drive (in a directory named
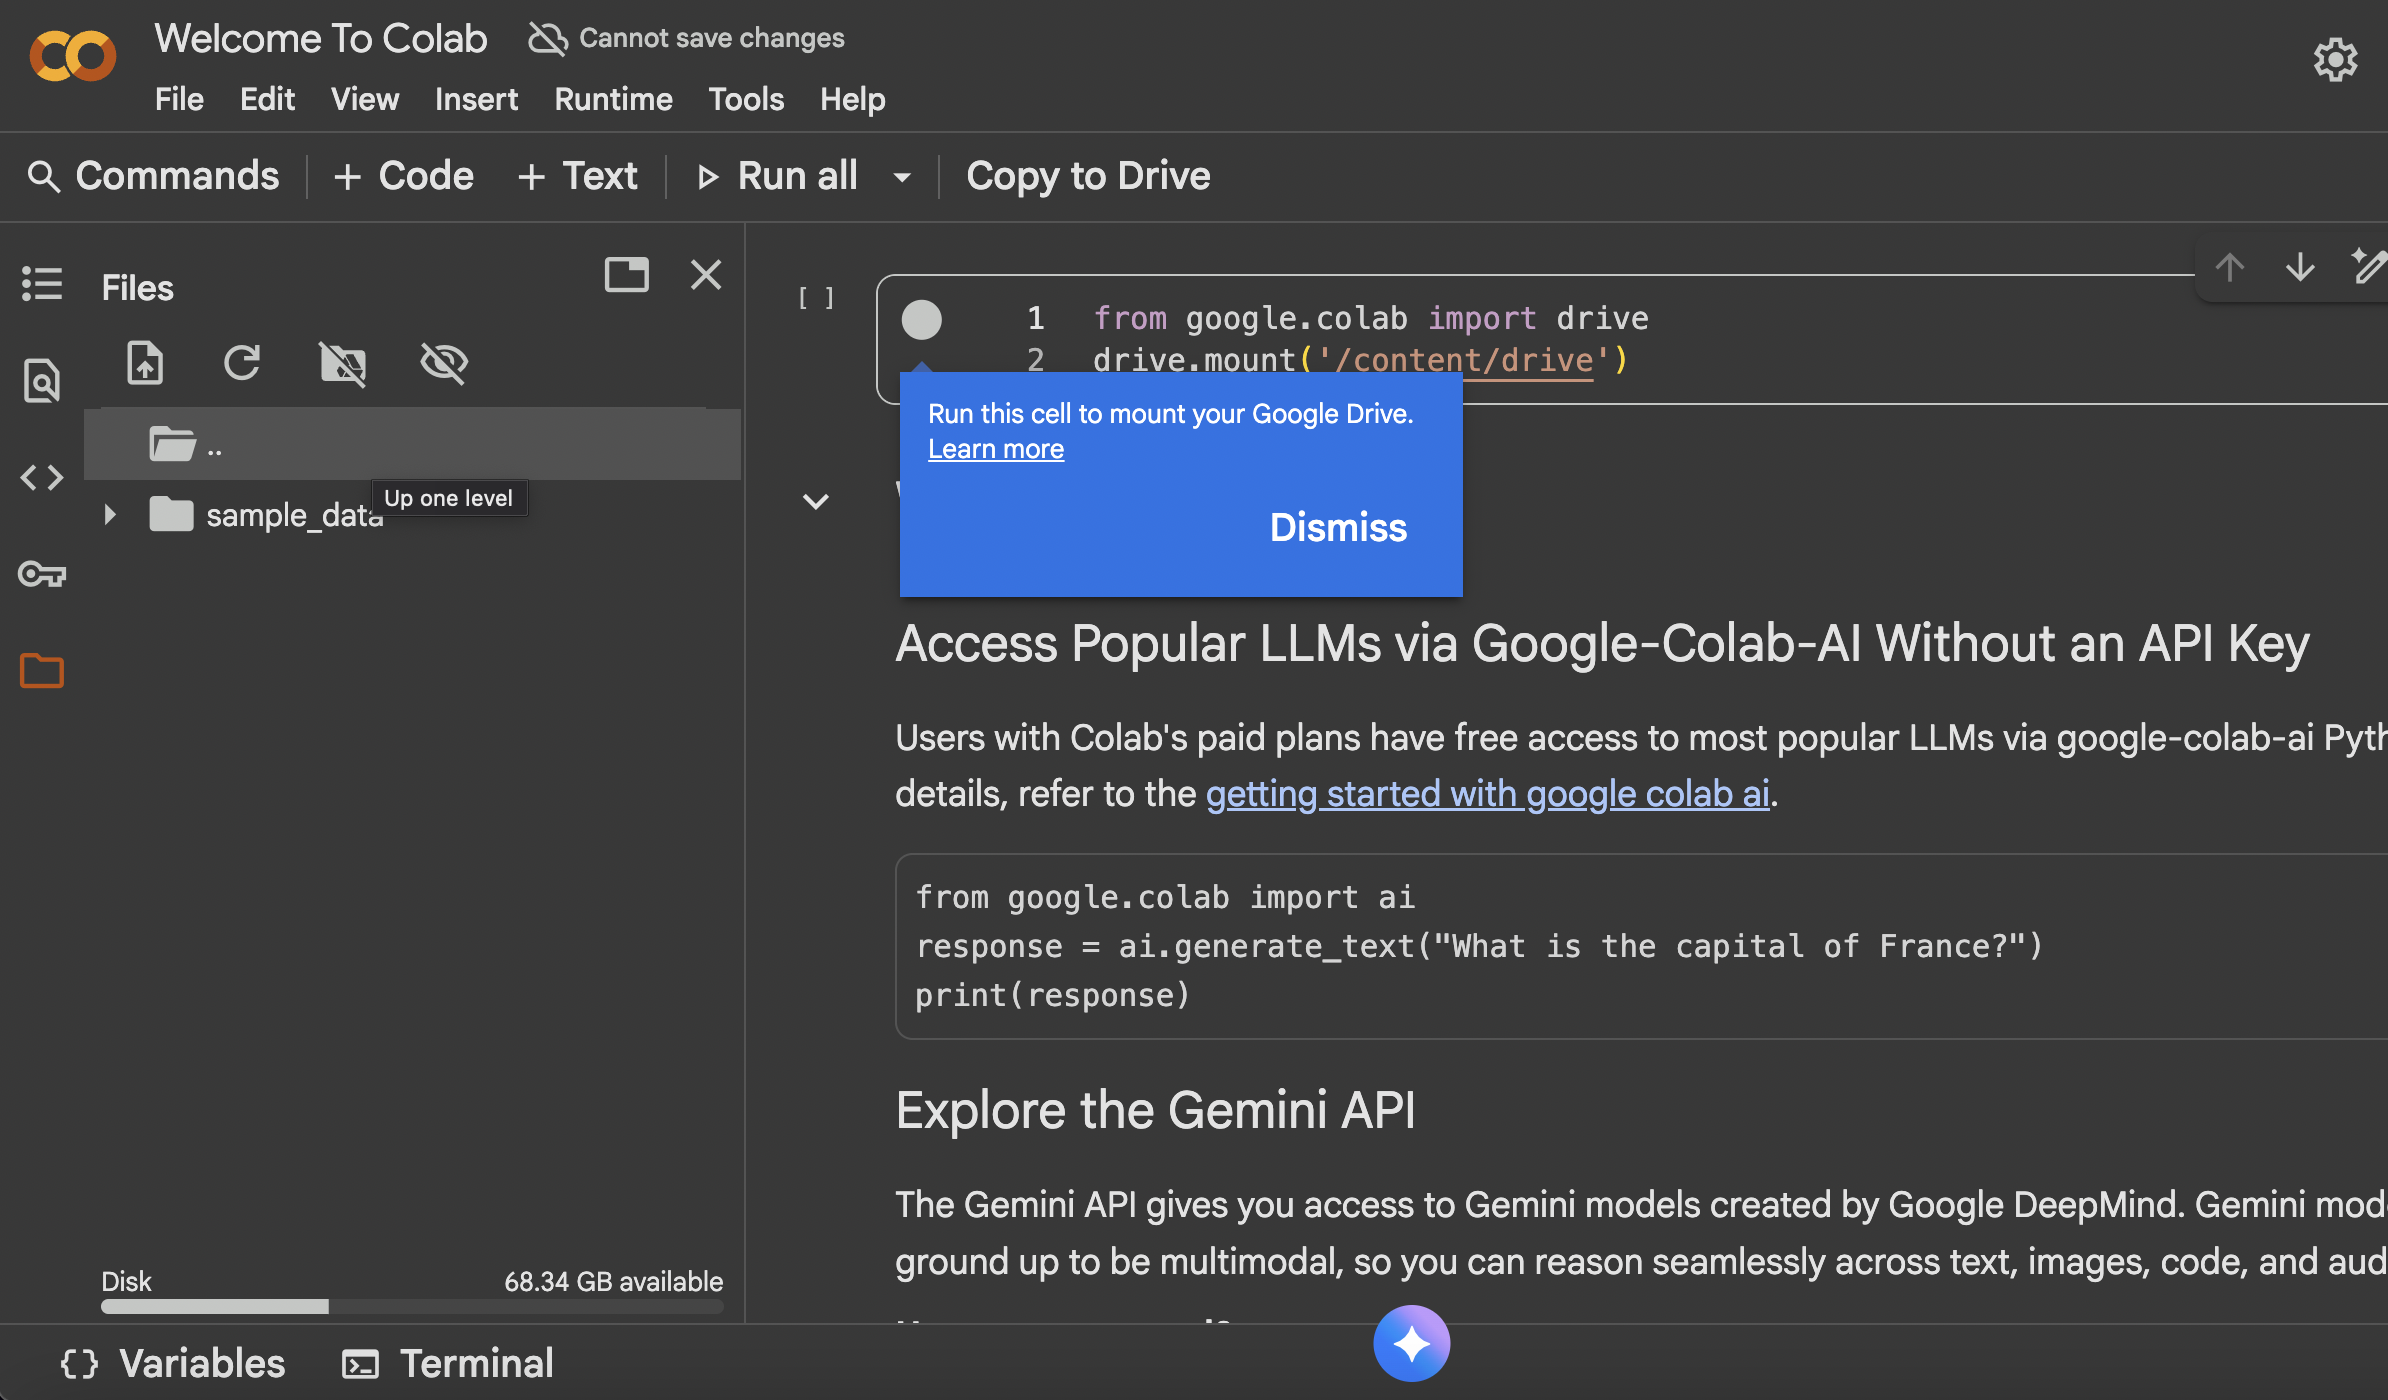
data) and mount the drive in Colab. Open a new Google Colab notebook. Then create a new code cell and type the following commands (and then click the play button to run the cell):
from google.colab import drive
import os
import pandas as pd
drive.mount('/content/drive')
os.chdir('/content/drive/My Drive/data')
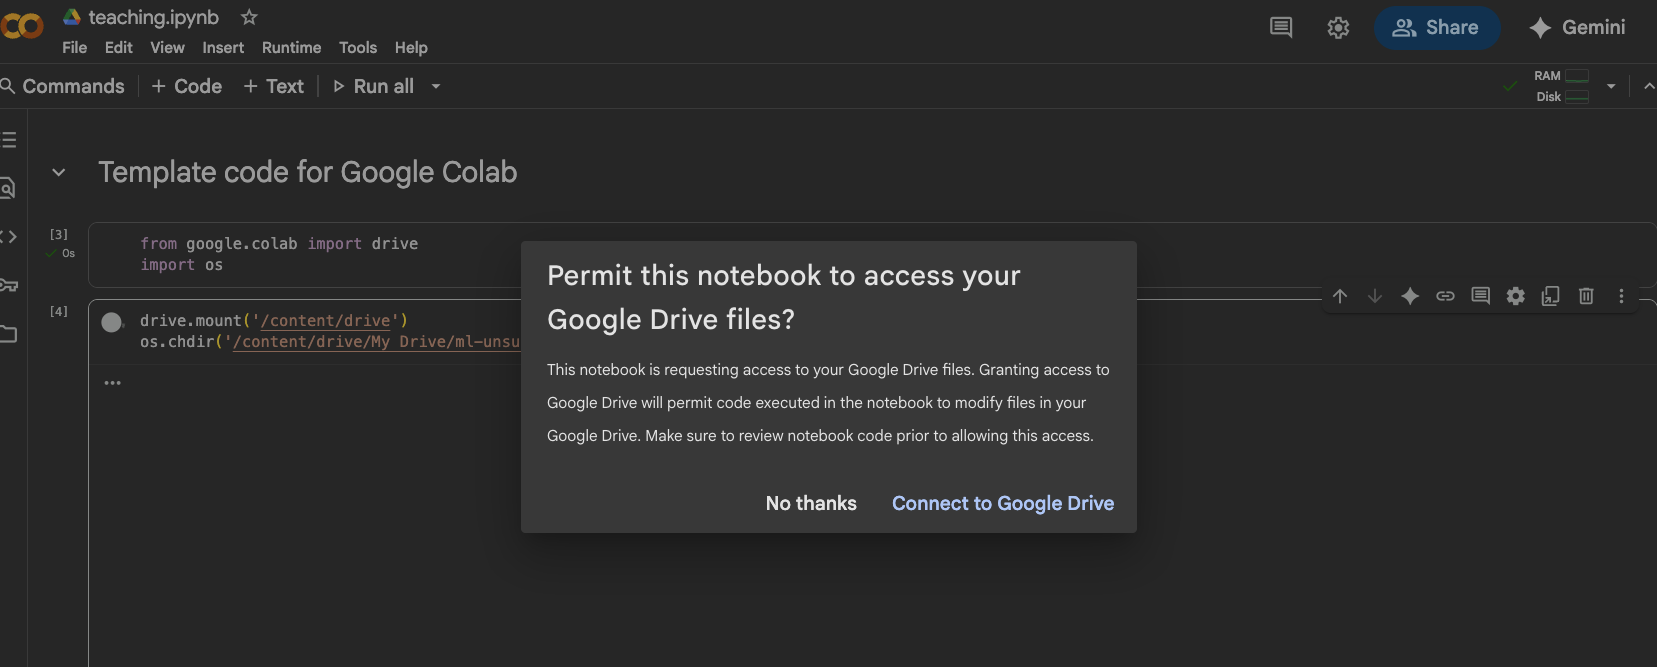
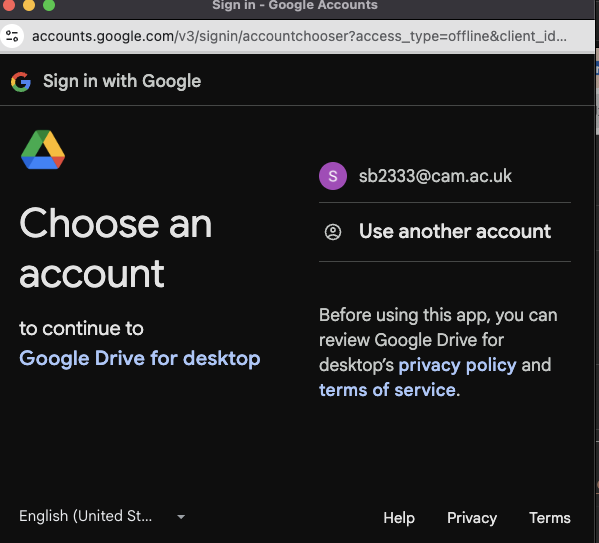
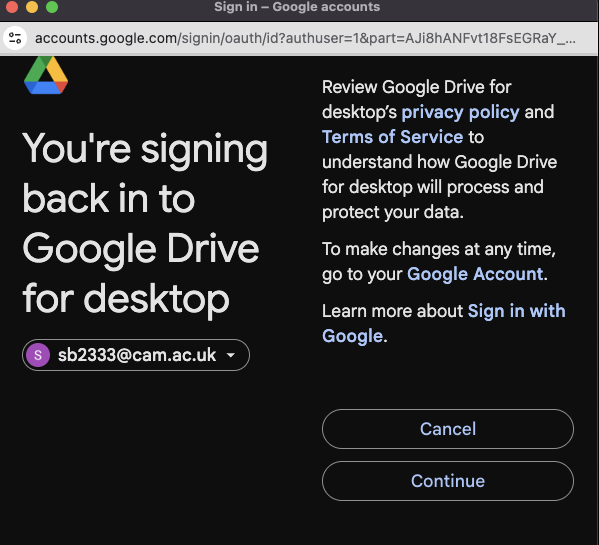
pd.read_csv('diabetes_sample_data.csv')- Google Colab will ask you to authenticate your Google account the first time you run the
drive.mount()command. Follow the instructions in the output cell to complete the authentication process. You will need a gmail account or you can use your cam.ac.uk account. Some screenshots are shown below to guide you through the process:
If you have your files in a different directory, please change the path in the
os.chdir()command above accordingly.A template notebook is also available to get you started.
Google Colab comes with most of the required packages pre-installed. If you need to install any additional packages, you can do so using the
!pip install package-namecommand in a code cell.Create a new folder named
datain theMy Drivefolder. Download the data files and and copy the files into thedatafolder (if you want to access the files from Colab). Your directory structure should look like this:
My Drive/
└─ data/
(Optional) You can also follow the instructions below to setup from the browser.
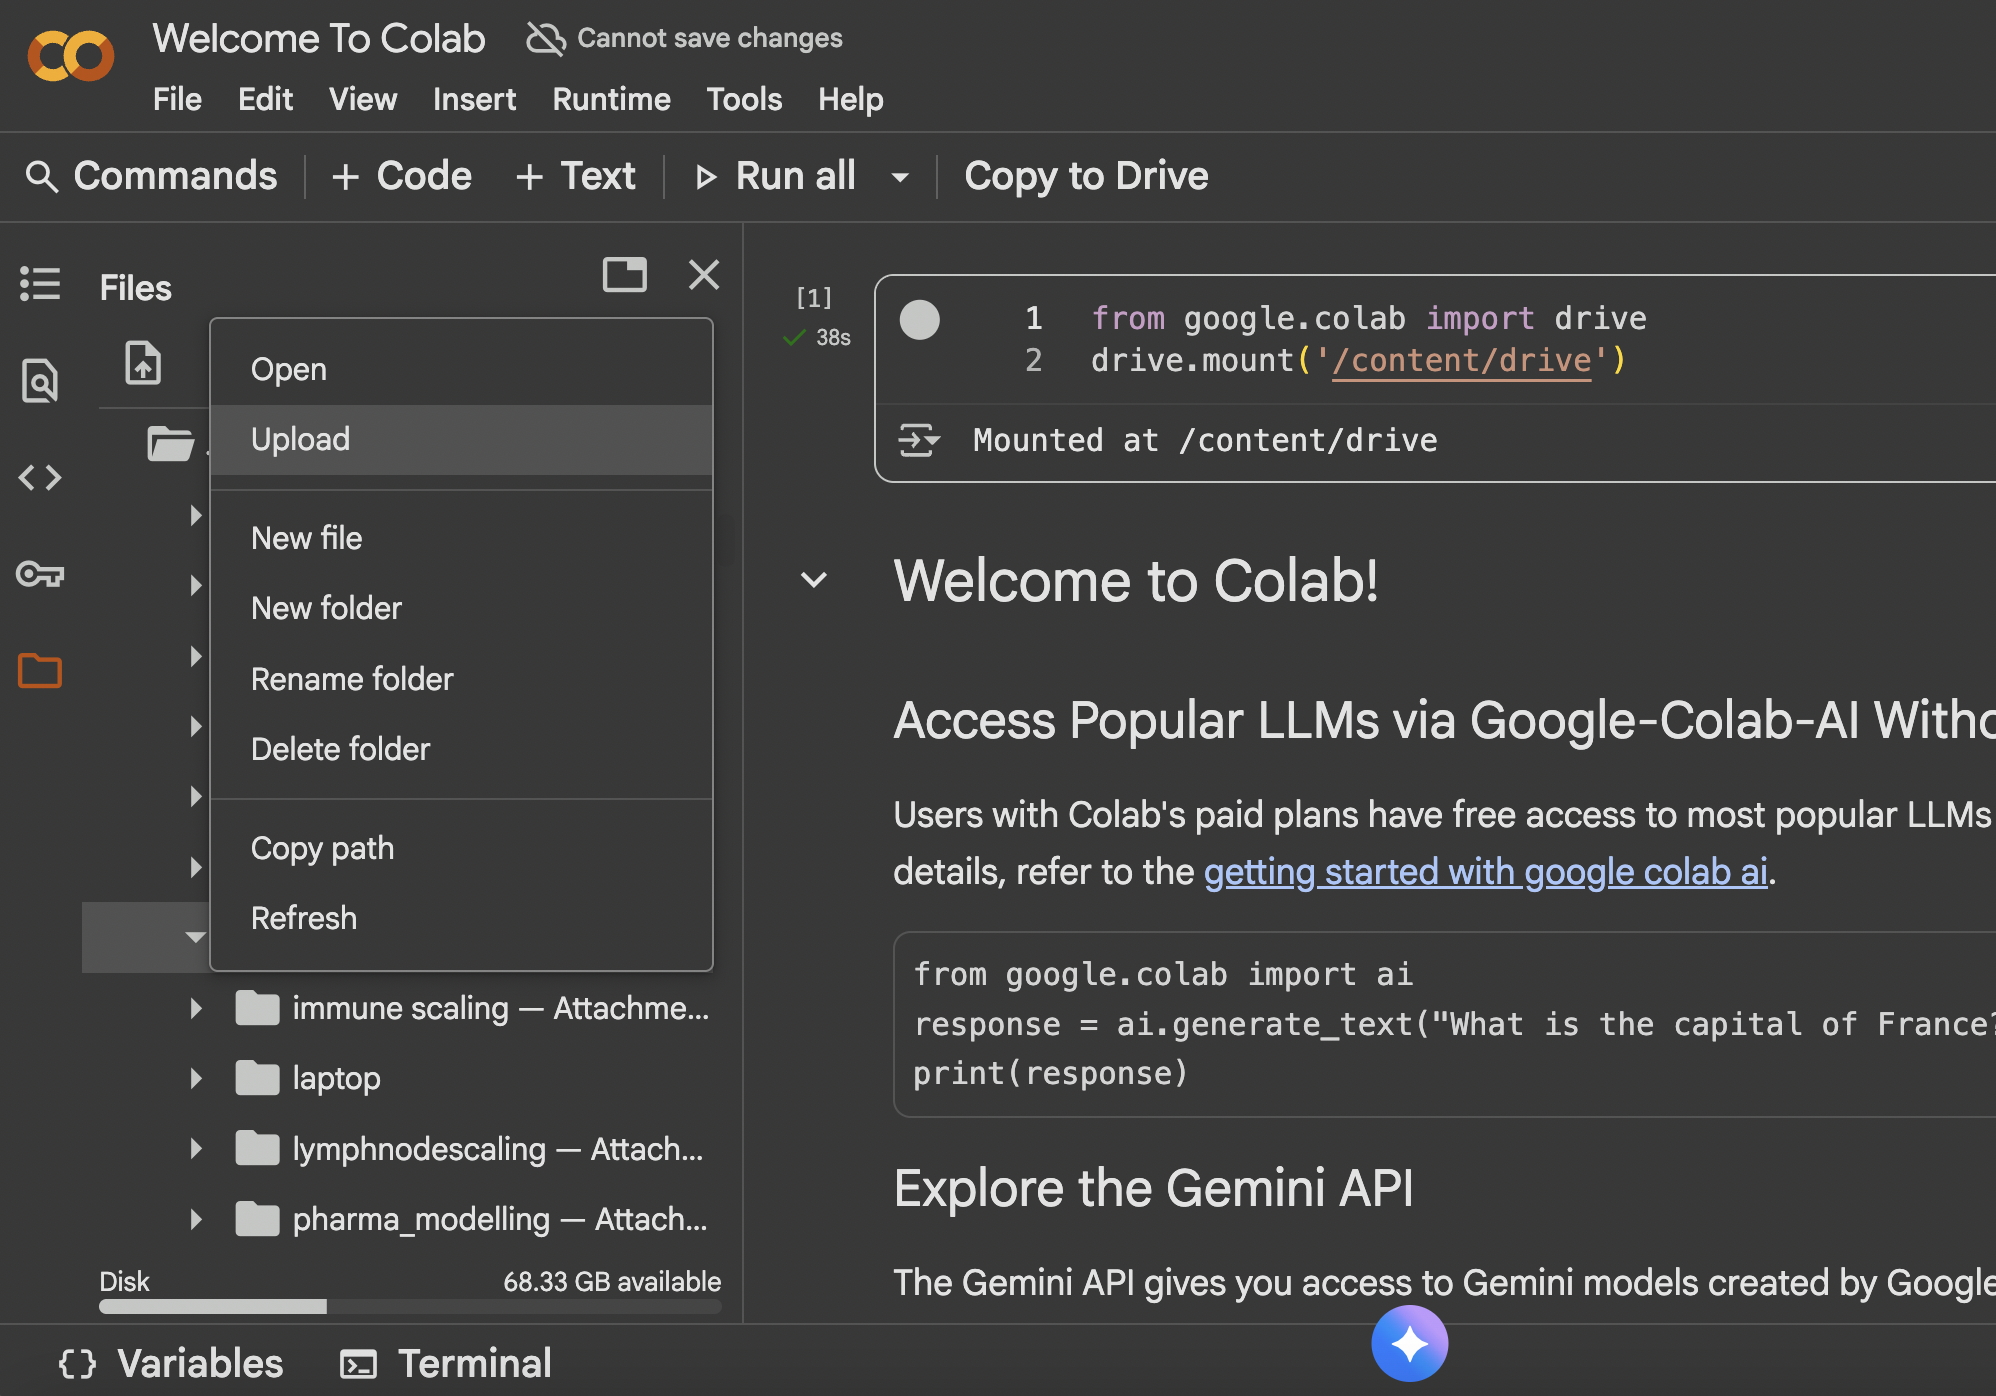
Open a new Google Colab notebook.
- Click on the folder icon on the left-hand side to open the file explorer.
- Right-click and then mount your Google Drive and then click on the
Run this cellbutton.
- Create a new folder named
datain theMy Drivefolder. Then upload the data files into thedatafolder.
(Optional) Run locally
Install Python (we recommend using Anaconda or Miniconda to manage your Python environment).
Install Visual Studio Code (see below) or Spyder.
Download the data folder from the link here or unzip the file here and save it on your computer.
- In Terminal/Command Prompt, navigate to the folder in which you save the
datafolder. Then change directory to thedatafolder:
cd data- (Optional) Setup a virtual environment
python3 -m venv .venvActivate the virtual environment
- On Windows (in Command Prompt):
.venv\Scripts\activate- On MacOS/Linux:
source .venv/bin/activateInstall required Python packages
pip install numpy pandas scikit-learn seaborn matplotlib scanpy pca- If you have a local Python installation (see above), you can also run the scripts there (see instructions below). This assumes that you have downloaded and unzipped the data folder to your computer (in a folder called
data) and that you have installed the required packages (see above).
Your directory structure should look like this:
data/
└─
import os

# where are we?
print( os.getcwd() )

# change directory to where the data is stored
os.chdir('data/')

# where are we now?
print( os.getcwd() )- A template Python script is also available to get you started.
(Optional) Visual Studio Code
- Go to the Visual Studio Code download page and download the installer for your operating system. Double-click the downloaded file to install the software, accepting all the default options.
- After completing the installation, go to your Windows Menu, search for “Visual Studio Code” and launch the application.
- Go to “File > Preferences > Settings”, then select “Text Editor > Files” on the drop-down menu on the left. Scroll down to the section named “EOL” and choose “\n” (this will ensure that the files you edit on Windows are compatible with the Linux operating system).
- Go to the Visual Studio Code download page and download the installer for Mac.
- Go to the Downloads folder and double-click the file you just downloaded to extract the application. Drag-and-drop the “Visual Studio Code” file to your “Applications” folder.
- You can now open the installed application to check that it was installed successfully (the first time you launch the application you will get a warning that this is an application downloaded from the internet - you can go ahead and click “Open”).
- Go to the Visual Studio Code download page and download the installer for your Linux distribution. Install the package using your system’s installer.