5 Python
We recommend using the package manager Mamba to manage your Python installation and environments. Our recommendation is to create separate environments for each project or type of analysis, to avoid package version conflicts.
In this page we give an example of creating an environment with JupyterLab, which gives you a popular notebook interface for coding and data analysis.
Follow the instructions on the mamba installation page. Then return to this page.
Open a terminal:
- macOS and Linux - open your regular terminal
- Windows - open the Miniforge prompt or WSL terminal (if you followed the WSL setup instructions)
Create a new environment, which we will call
demo(you may give your environment a name of your choice):mamba create -n demoInstall JupyterLab (for notebook interface):
mamba install -y -n demo jupyterlabThe installation should complete with the following message:
Downloading and Extracting Packages

Preparing transaction: done
Verifying transaction: done
Executing transaction: done
5.1 Initiate JupyterLab
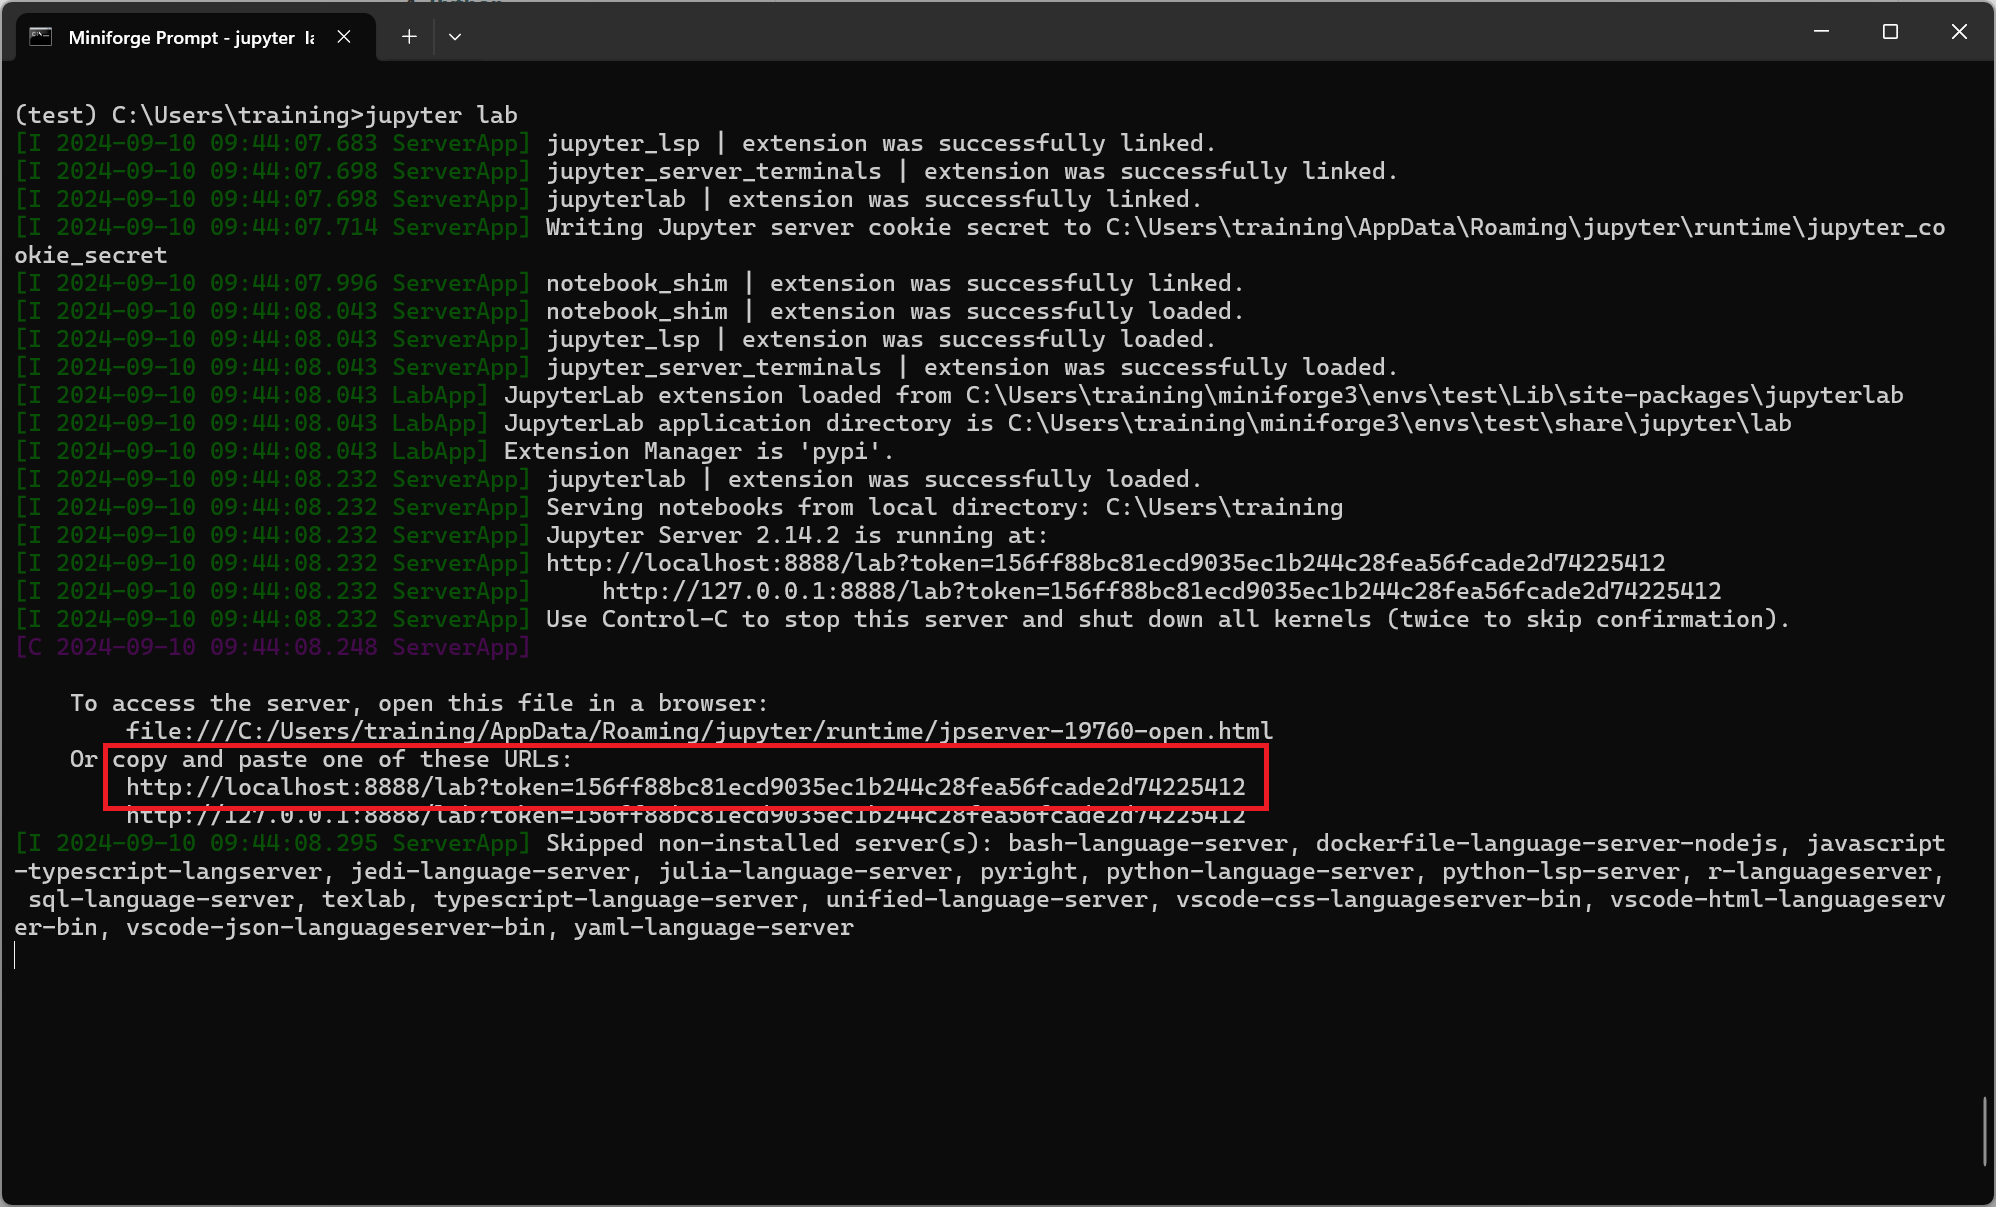
Once installed, you can start JupyterLab by activating your environment and running the command to launch it:
mamba activate demo
jupyter lab
JupyterLab should open in your browser automatically. If it doesn’t, you can click the link that appears on the message printed on the screen:
By default, JupyterLab will open in the directory where you launch it from. If the files you are interested in working with are in a different directory, you need to change to that directory first.
For example, let’s say you had a folder in your Desktop called intro-python. To open JupyterLab in that folder, you would first cd into it, and then run the jupyter lab command.