3 Conda/Mamba
Mamba is a popular package manager in data science, scientific computing and bioinformatics, which is a successor to another package manager called Conda. Below we give instructions on how to use the Miniforge installer on all major operating systems.
The instructions below are for a native Mamba Windows installer. However, we highly recommend that you consider using WSL2 instead (WSL setup instructions). If that is the case, then follow the instructions on the “Linux” tab.
Are you sure you want to install Mamba natively on Windows?
Many packages do not work properly on Windows, especially in fields like data science, statistics and bioinformatics. For that reason, we really recommend that you consider setting up WSL2 first, and then follow the Linux instructions on this page.
- Download the Miniforge3 installer from this link
- Double-click the downloaded file to start the installation wizard
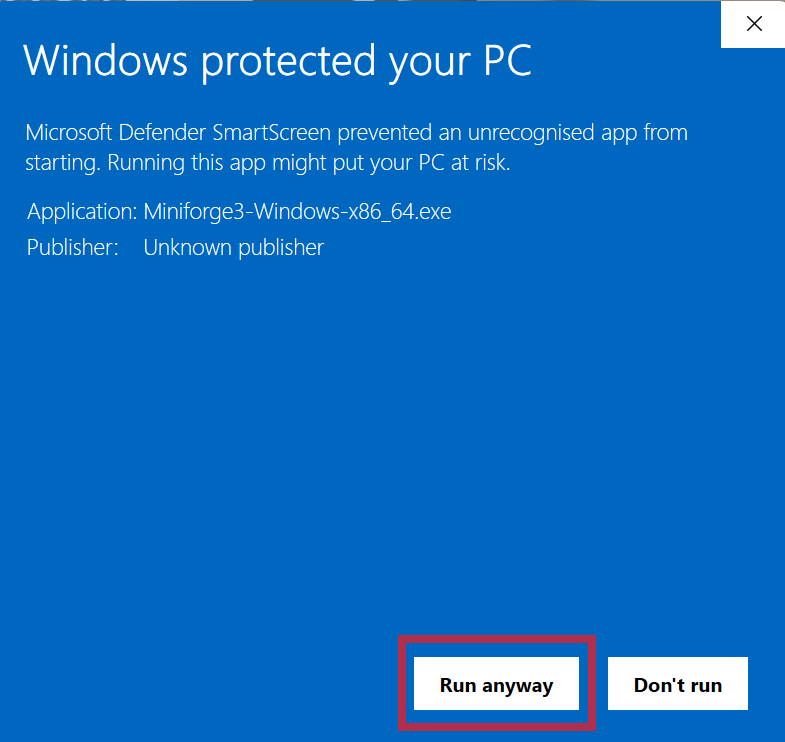
- You may get a warning from Windows Defender
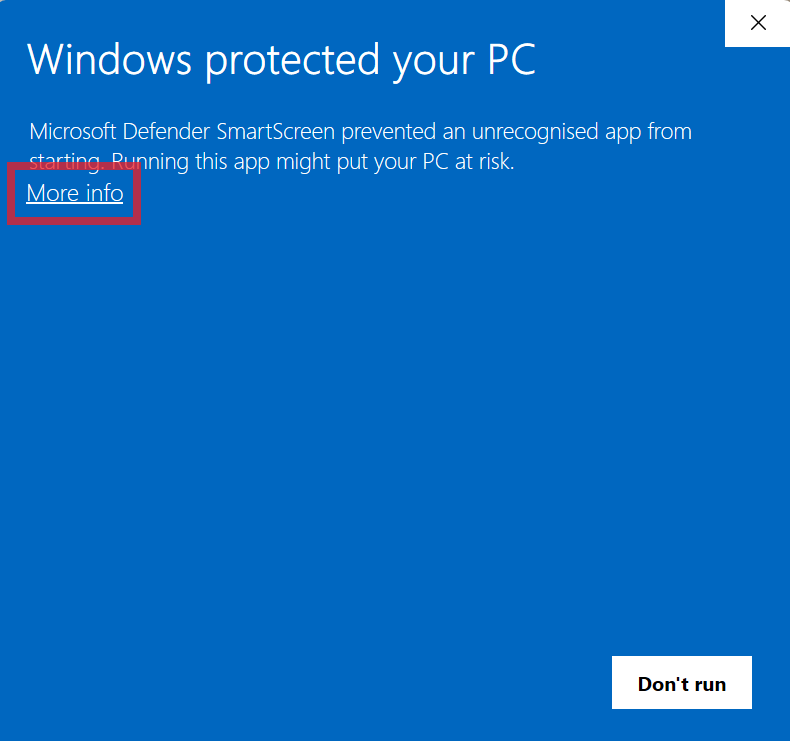
- Click “More info” and then “Run anyway”
- Proceed with the installation accepting all the defaults

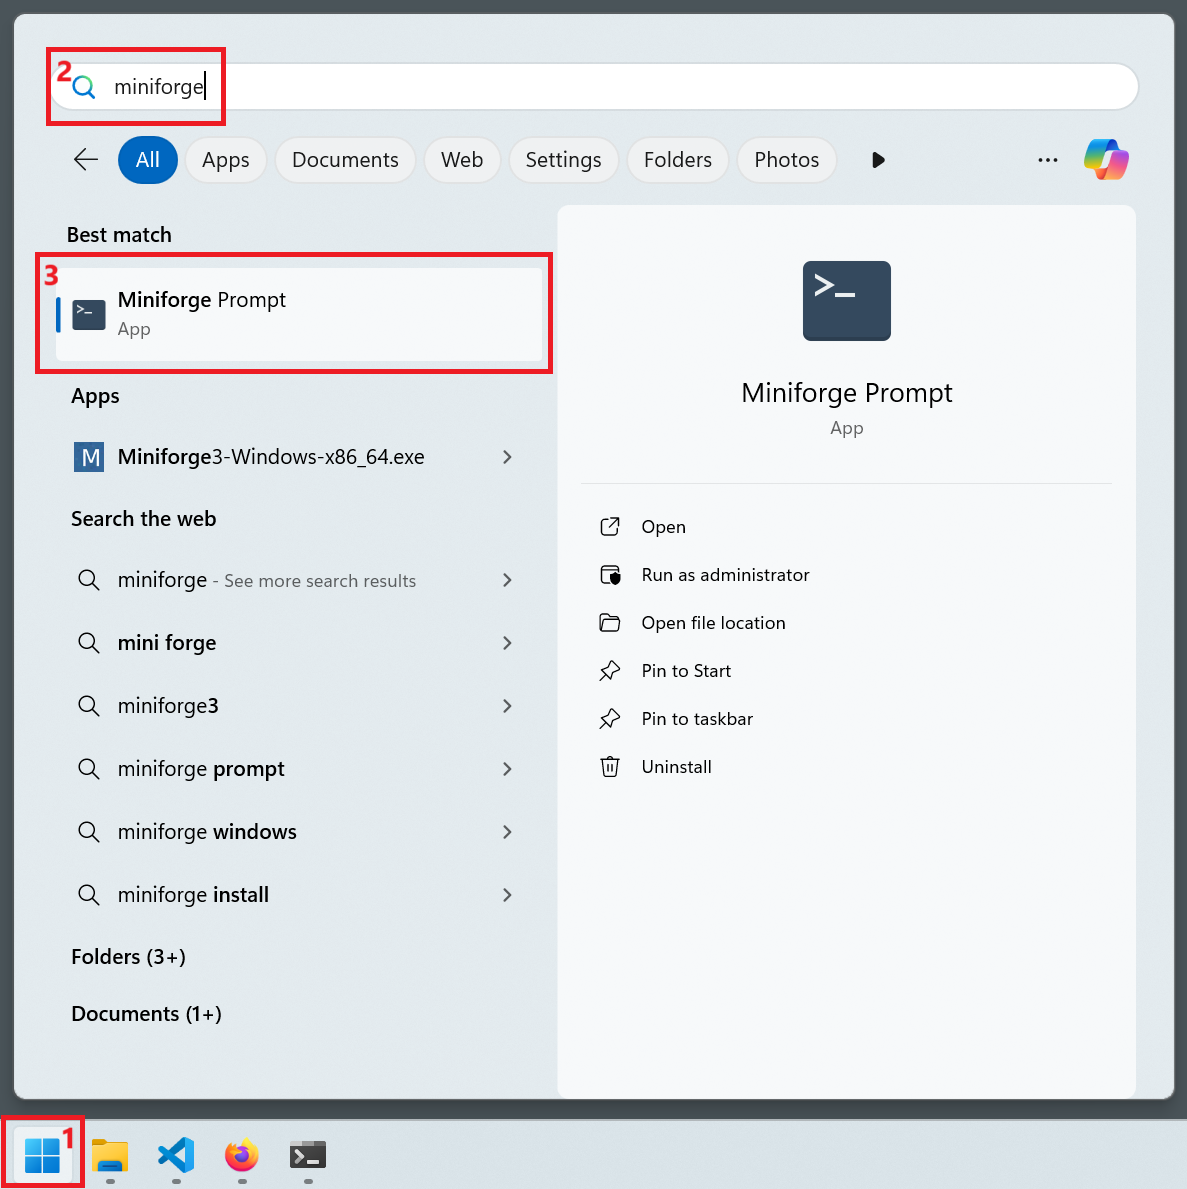
- To use
mambayou can search your windows menu for “miniforge” and click on the “Miniforge Prompt” application
This should open a terminal, which starts with the word
(base).Copy and paste the following commands to finish setting up your installation:
conda config --add channels bioconda
conda config --add channels conda-forge
conda config --set channel_priority strict
conda config --set remote_read_timeout_secs 1000
Open a terminal and copy/paste the following commands (this will install Mamba in its default location in the home directory):
curl -L -O "https://github.com/conda-forge/miniforge/releases/latest/download/Miniforge3-$(uname)-$(uname -m).sh"
/bin/bash Miniforge3-$(uname)-$(uname -m).sh -b -p $HOME/miniforge3
rm Miniforge3-$(uname)-$(uname -m).sh
$HOME/miniforge3/bin/mamba shell init
Restart your terminal and run the command
mamba activate base.- Your prompt should now start with the word
(base), indicating the installation was succesful.
- Your prompt should now start with the word
Copy and paste the following commands to finish setting up your installation:
conda config --add channels bioconda
conda config --add channels conda-forge
conda config --set channel_priority strict
conda config --set remote_read_timeout_secs 1000
Open a terminal and copy/paste the following commands (this will install Mamba in its default location in the home directory):
wget "https://github.com/conda-forge/miniforge/releases/latest/download/Miniforge3-$(uname)-$(uname -m).sh"
bash Miniforge3-$(uname)-$(uname -m).sh -b -p $HOME/miniforge3
rm Miniforge3-$(uname)-$(uname -m).sh
$HOME/miniforge3/bin/mamba shell init
Restart your terminal and run the command
mamba activate base.- Your prompt should now start with the word
(base), indicating the installation was succesful.
- Your prompt should now start with the word
Copy and paste the following commands to finish setting up your installation:
conda config --add channels bioconda
conda config --add channels conda-forge
conda config --set channel_priority strict
conda config --set remote_read_timeout_secs 1000
Finally, check your setup by running the following commands:
mamba --version2.1.1conda --version25.3.1conda config --show channelschannels:
- conda-forge
- biocondaThe version numbers may be different, but the important thing is that the commands run without errors. If you see any errors, please review the instructions above and try again.